How to measure your kitchen before you buy the cabinetry and replace the fronts? Please read on.
Before you take measurements ensure you have:
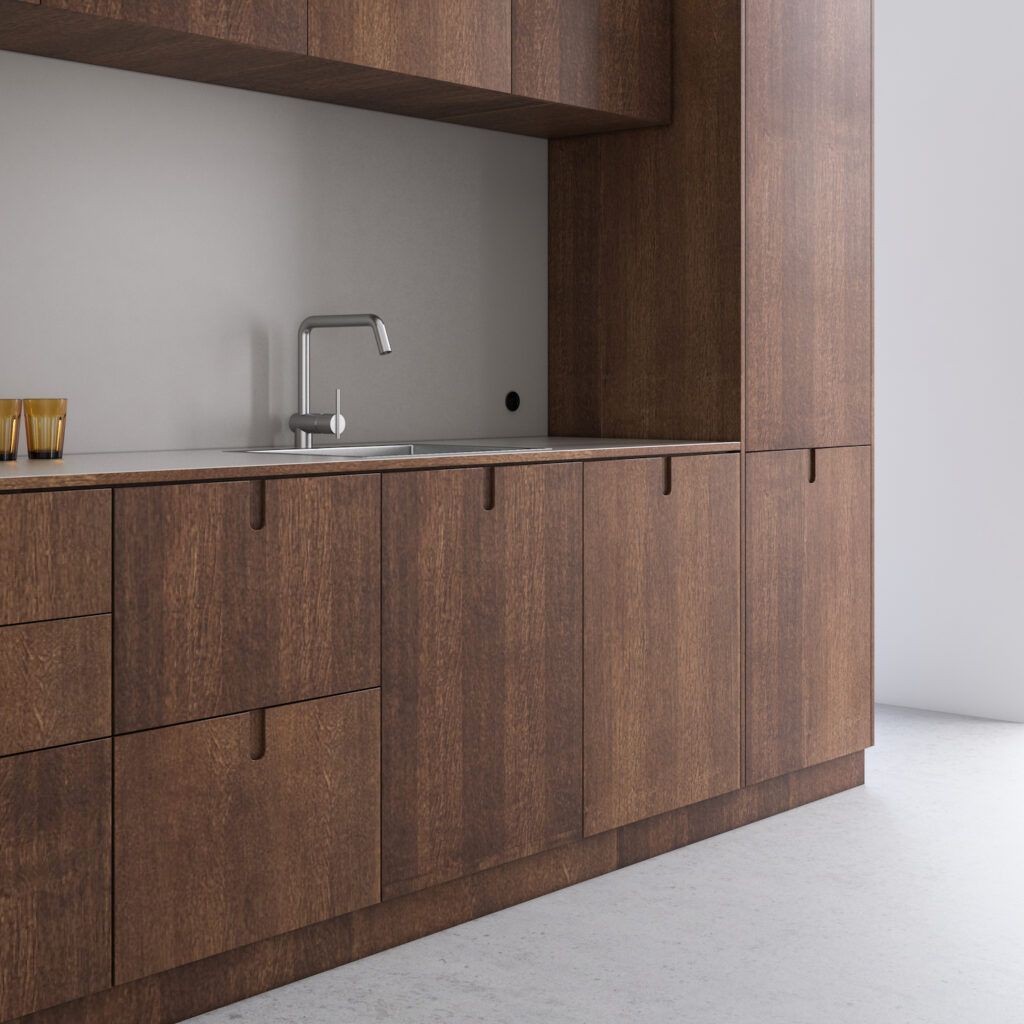
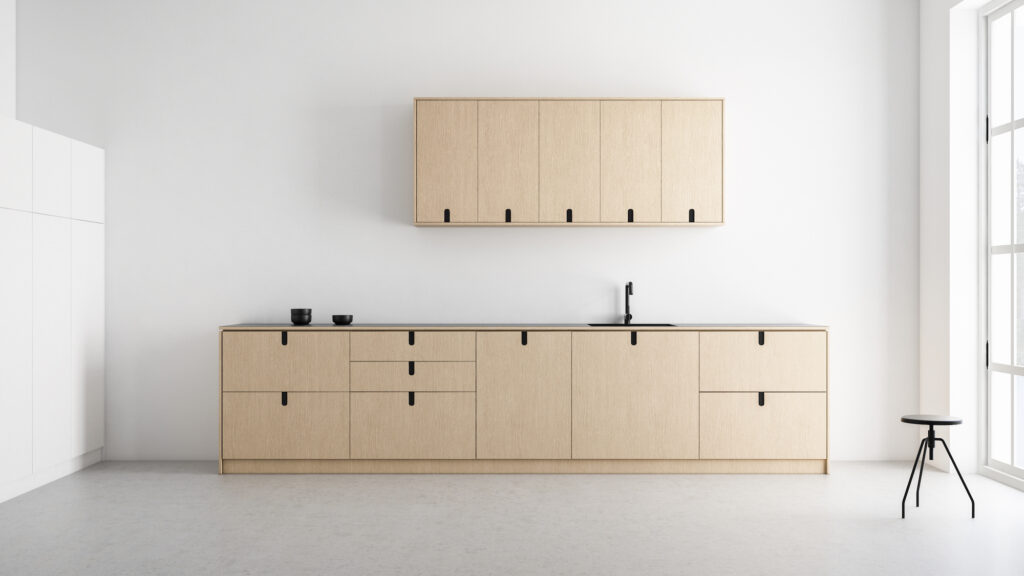
If you intend to replace your old fronts or buy new ones for the IKEA METOD system, it is quite simple. You only need to measure the widths of your base and wall cabinets, plus the height of your cabinets for built-in equipment and drawers. Our fronts are precut to be fit with the IKEA hinges, so you don't need to measure the inner sides of your cabinets.
Are you planning to order the base moulding for the units? Remember to measure the side walls (height and depth) of the cabinets and check the height of the toe kicks.
If you wish to replace the fronts in cabinets outside the IKEA Metod system, measure exact widths and heights of each of your cabinets and drawers. While we are able to rectify minor measurement errors of a few millimetres (adjust the dimension to fit a module in the system), we will not manage to do that with made-to-measure cabinets. You can also supply a drawing or photos with your measurements before you place an order to help customise the fronts during the order procedure.
Would you like to ask our expert about your measurements? Make an appointment for an on-line consultation or taking on-site measurements.
Contrary to what we may think, this is slightly more difficult than replacing the fronts. What should you focus on prior to worktop replacement? It all depends on whether you plan on ordering a worktop precut to size or you’d rather order a full piece and cut it to size at your place (usually for wooden worktops).
With the full piece worktops, ensure you note its thickness (worktop height). Preferably, it should match or be approximately the height of the existing worktop, so that it fits the dimensions of the hob, wall tiles, and a window sill, if there is a window in your kitchen. Before you place an order for the worktop, make sure you provide the height between the hob's body and surface plate, so that the top surfaces of both the hob and a new worktop are as close as possible. Also, make sure you measure the depth of the cabinets (dimensions of the units’ side panels).
When measuring the length of the new worktop, note the place where its separate pieces will be joined together. We advise you to avoid joining the pieces in the most exposed places and where, for example, the hob or sink opening will be cut. Make sure you predict the lengths of the pieces to ensure a comfortable fit as a whole.
If you want to order a made-to-measure worktop made of, for example, stone or conglomerate, please make sure that apart from its height you make a detailed drawing of all offset dimensions to provide for a flue and any utility lines, as well as for the sink and the cooker. Remember to provide also: the diameter of your tap (if fixed to the worktop) and worktop mounted electrical sockets, if any.
Important! Regardless of whether you order a precut or full piece of worktop, make sure all the angles are square. Is it possible that they go wrong? Well, it is. Check the angles at the 60 cm mark from the corners.
Do you want to order the kitchen as a whole? Including the unit frames, equipment and the finishing parts? Then you are facing an important project. Before you use the IKEA planner to choose cabinets and equipment, prepare the room layout. What and how to measure?
Room height – you measure it from the floor to the ceiling. If you take the measurement before installing the floor (as at the builder's finish), make sure you deduct the thickness of the floor to be installed (base + floor planks or glue + tile thickness).
It is worth measuring the room height in several places, right next to walls, and approx. 60 cm farther from them to check if the ceiling and floor are level. This will be particularly important when you intend to hang wall cabinets right underneath the ceiling.
Make sure the floor is level. You can make small adjustment at assembly when the floor is out of level, but if levels differ significantly, your cabinets will wobble and their frames will bend.
Is there a window in the kitchen? Measure the height from the floor to the sill. Mark a radiator, if any, in the drawing. Note which direction the window opens.
Wall lengths – it is worth measuring them at several heights, at the floor level, and approx. 70 and 200 cm above the floor. Mark all inconsistencies and inclinations like protruding flue duct or connection boxes. A detailed measurement in several places will ensure you notice any unevenness in the walls. Will any doors be installed in your kitchen? Note the width of the door frame in your measurements.
Electrical system – check the locations of the outlets and connections to equipment. The sockets behind the cooker, oven and dishwasher must be approx. 30-50 cm above the floor, while the one behind the fridge, approx. 1 m above the floor. Are you planning to install a cooker hood? Ensure you install the socket that is nearest the duct at the height of approx. 2 m.
You will also use a number of small home appliances in your kitchen. The wall sockets between pieces of furniture must be installed at the height of approx. 120 cm.
A water connection and a discharge pipe must be measured and marked in the IKEA planner drawing. Their locations will in fact determine the layout of the whole kitchen, because the sink and dishwasher will be installed there.
Plumb, level and square – check the walls for plumb (approx. every 30 cm). As we have mentioned above, it is worth checking the floor for level and is is necessary to check if the walls and their joints with the ceiling are square across the length of at least 60 cm for the floor cabinets, and 30 cm for the wall cabinets.
Phew! That's about all. Measurements finished? Then it is time for planning the kitchen in the planner. Please go to another article in which we talk you through the design of your kitchen in the IKEA Metod.